Here’s a quick and easy way to change a graphic on a shape.
Step 1:
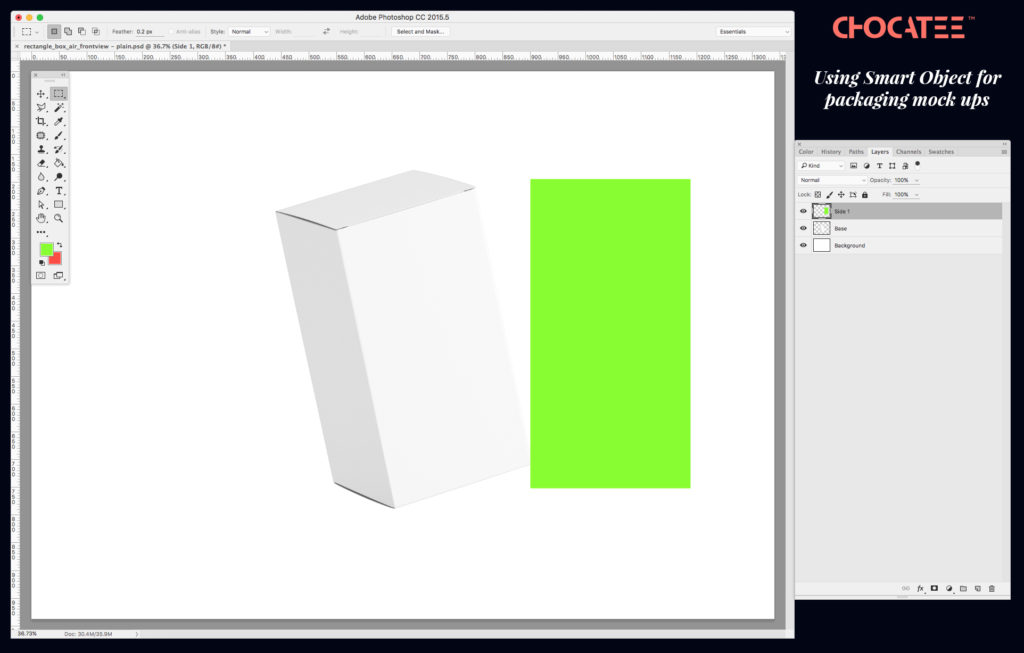
- Create a rectangle using the rectangle tool. Make it a bright, and noticeable colour. (fig. A)
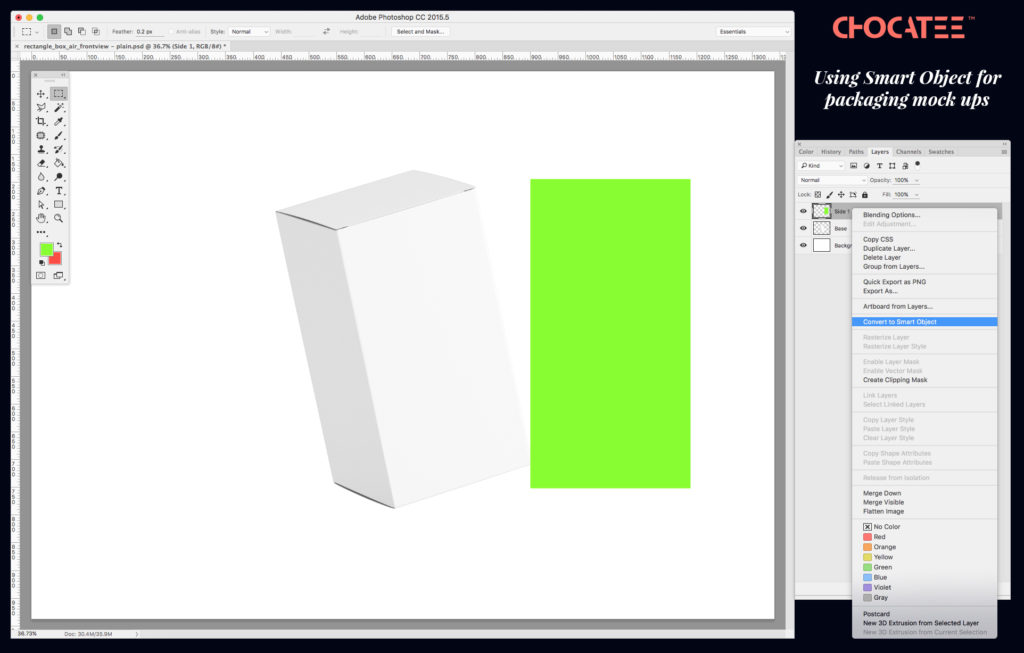
- Next, on your layers panel, right click and select the “convert to smart object” option (fig. B). You will notice a small icon appear on the layer as below, and set the layer to multiply
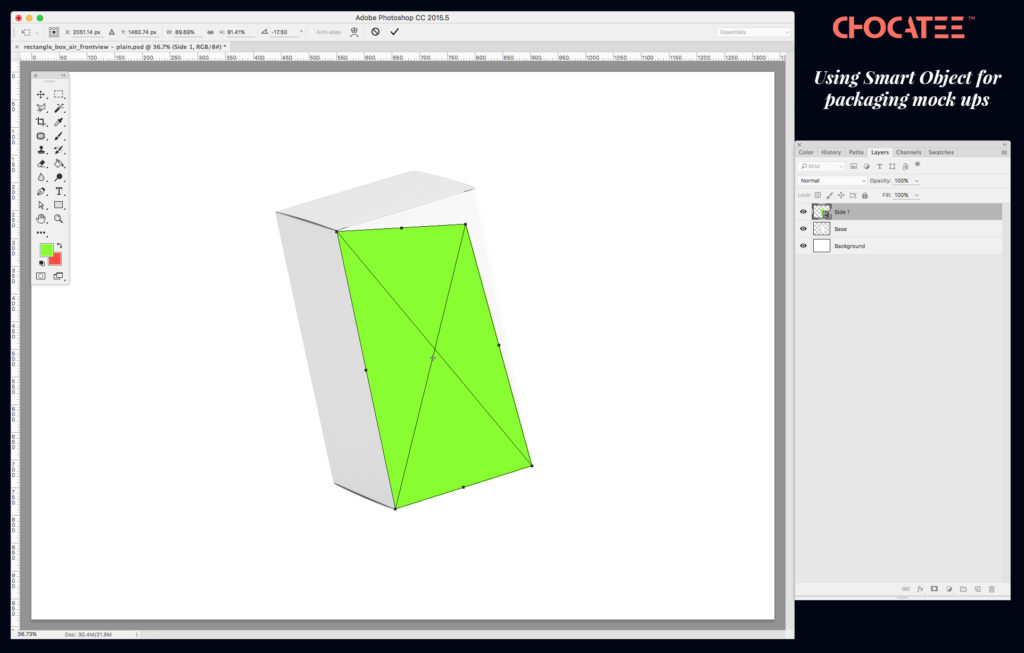
- Once you have done this, transform your shape to match the surface; anything you do to the smart object will be remembered by the software! (fig. C).
Step 2:
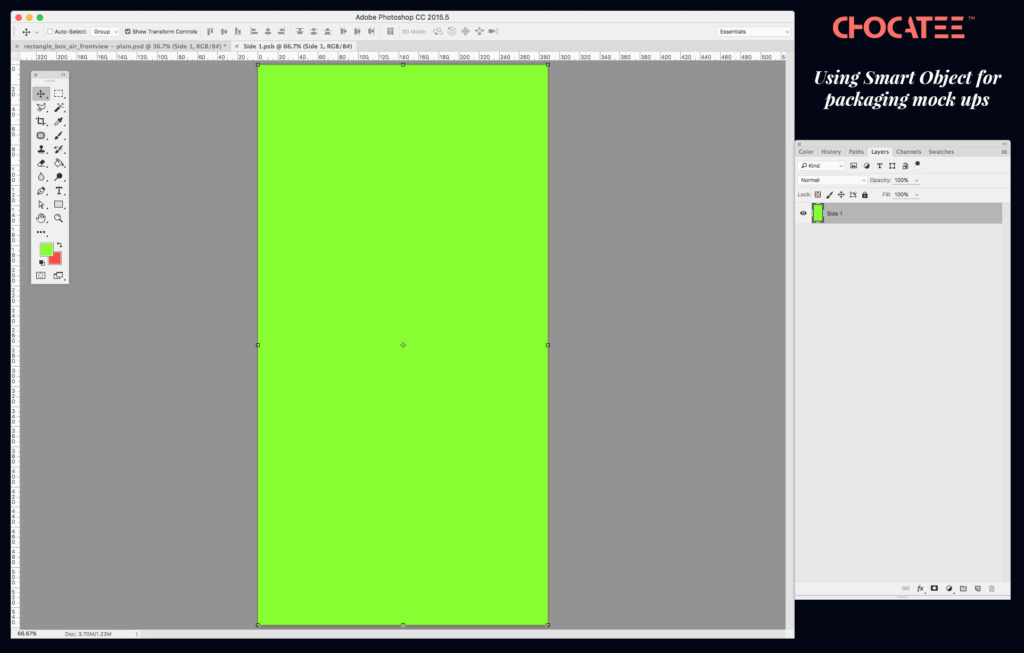
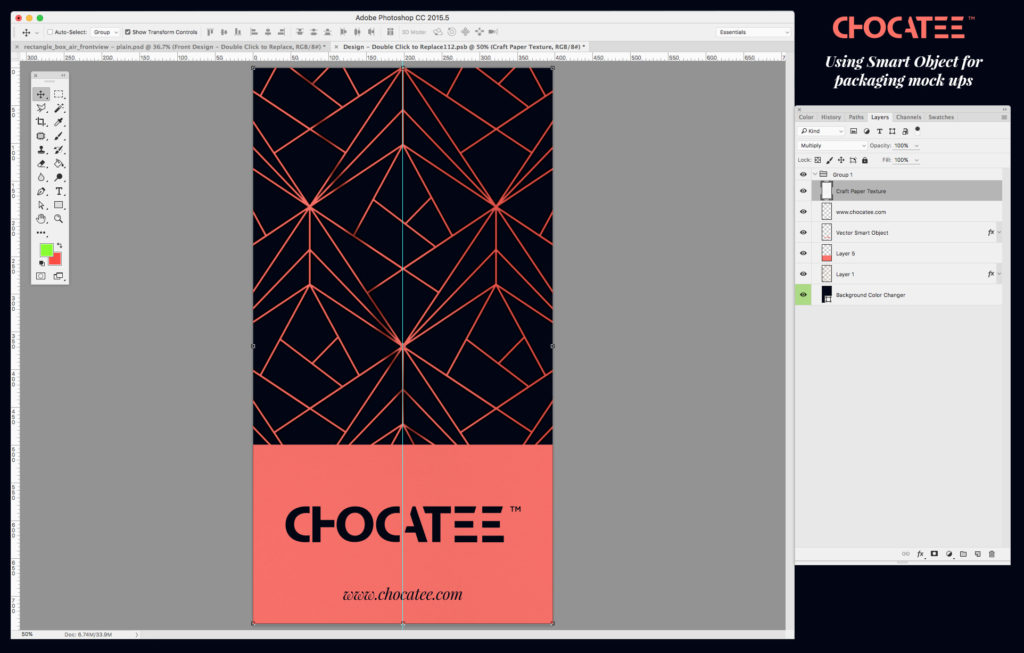
- In the layers panel, double click the smart later, and it will open up in a new tab (fig. D). You can also right click the layer, and scroll down to “edit contents”.
- On the new smart layer tab, make your edits and create your graphics as you please. Once this is done, hit save. (fig.E) and close the tab.
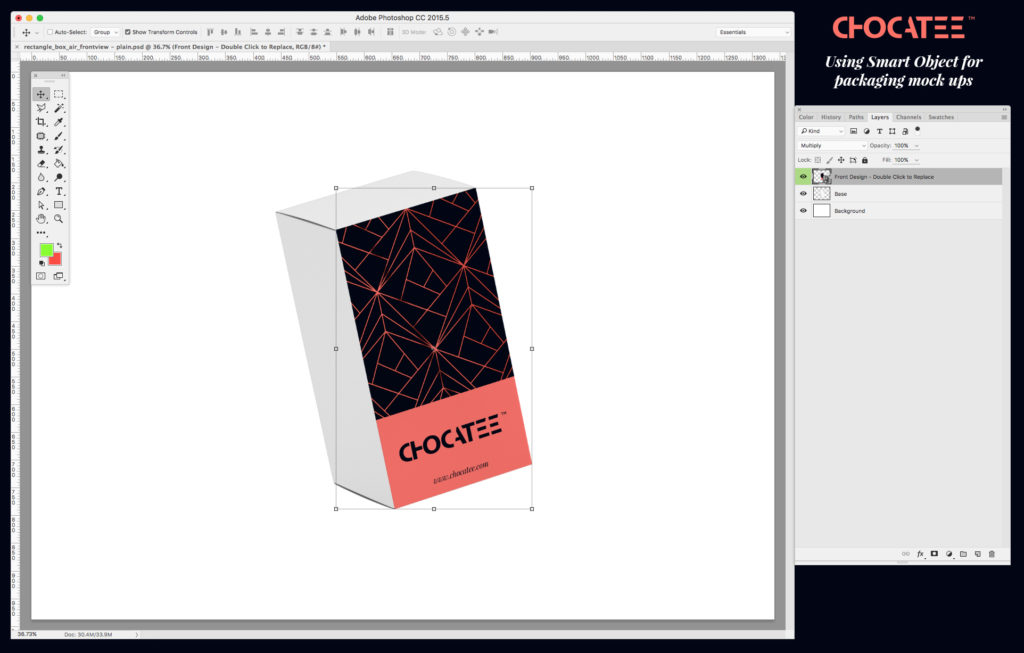
- When you return to the file you’re working on, you’ll see the layer has applied itself to the render. (fig. F)
Step 3:
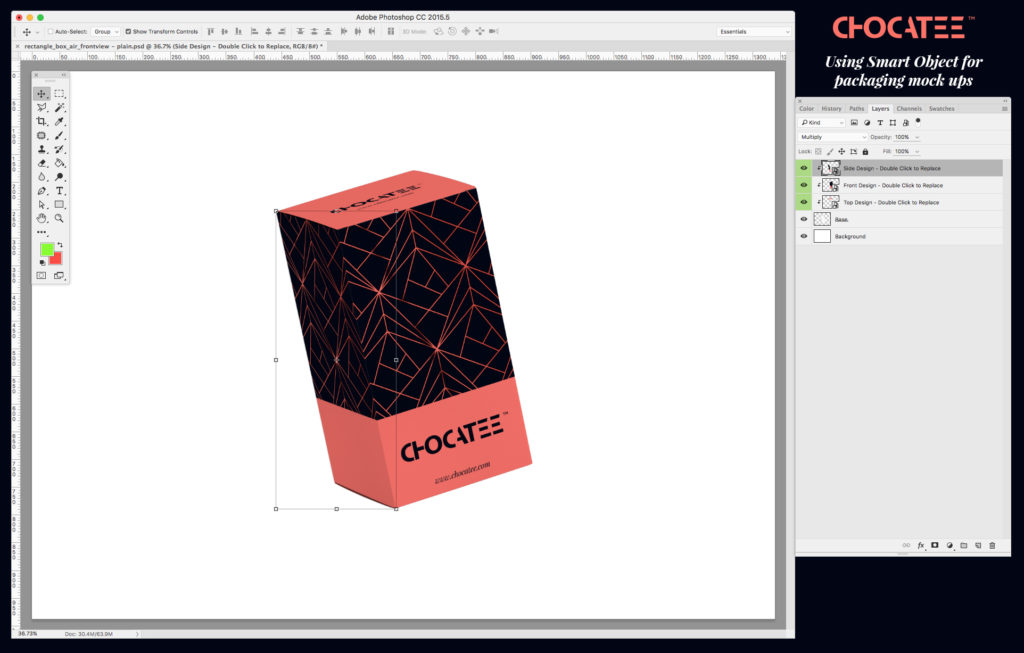
- Repeat steps 1-3 and apply this to all surfaces you wish to have editable layers on see (fig.G)
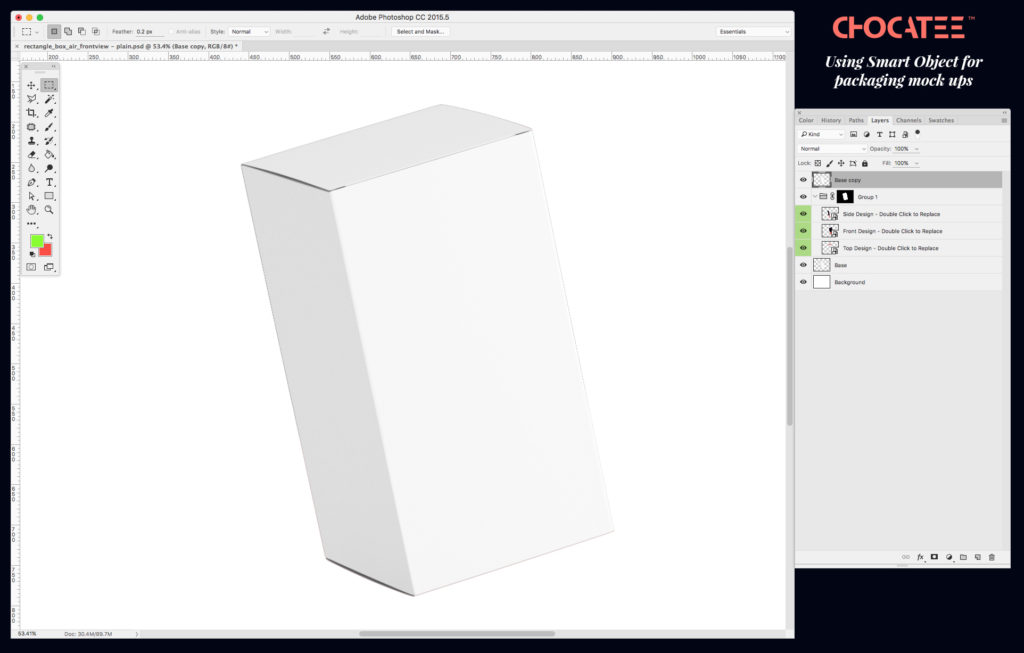
- You can add layer mask around the smart objects to ensure that the graphic is placed only on the actual box and not beyond that. (fig. H)
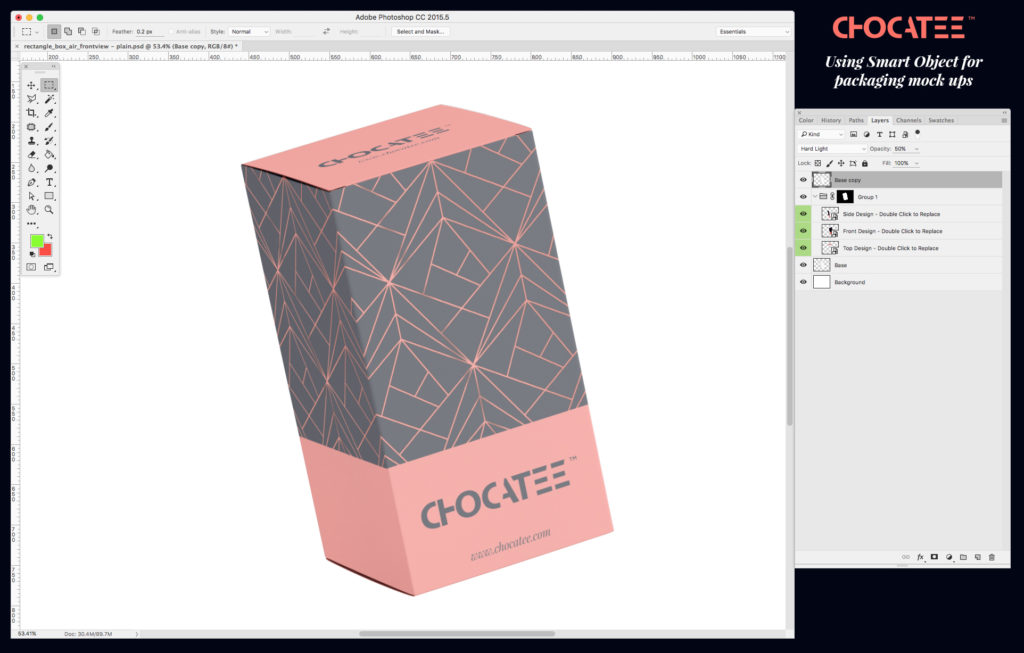
- Duplicate the initial box design and place on the top layer. You can use this to create highlights. (fig. I)
- Use ‘Hard Light’ on the effect tab and decrease Opacity to 50% (fig. J)
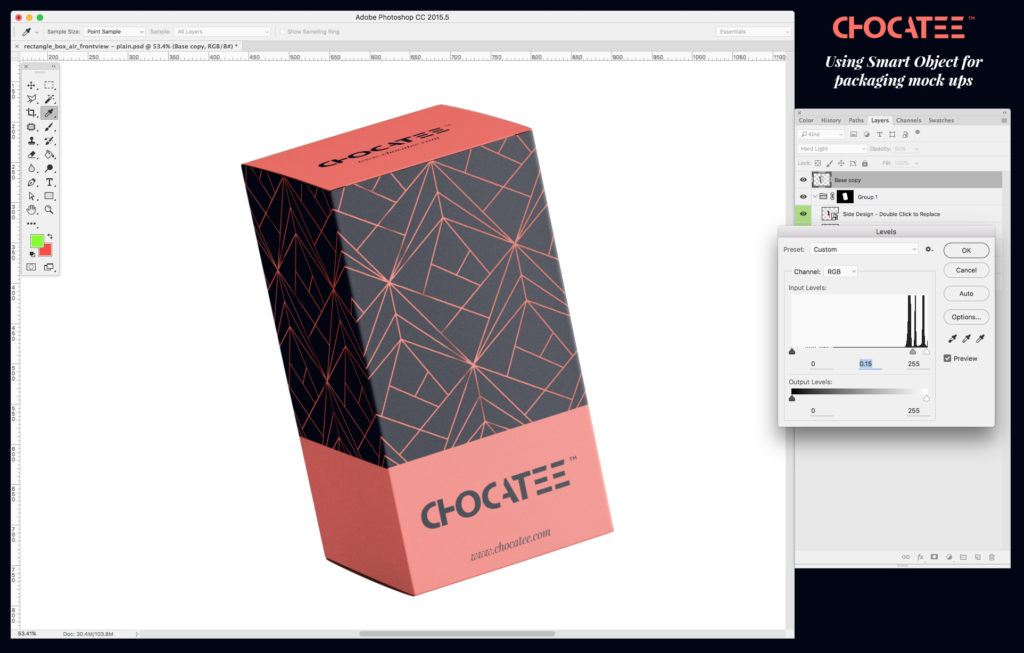
- Adjust levels by moving the middle arrow (G) to the right to make the layer darker (fig. K)
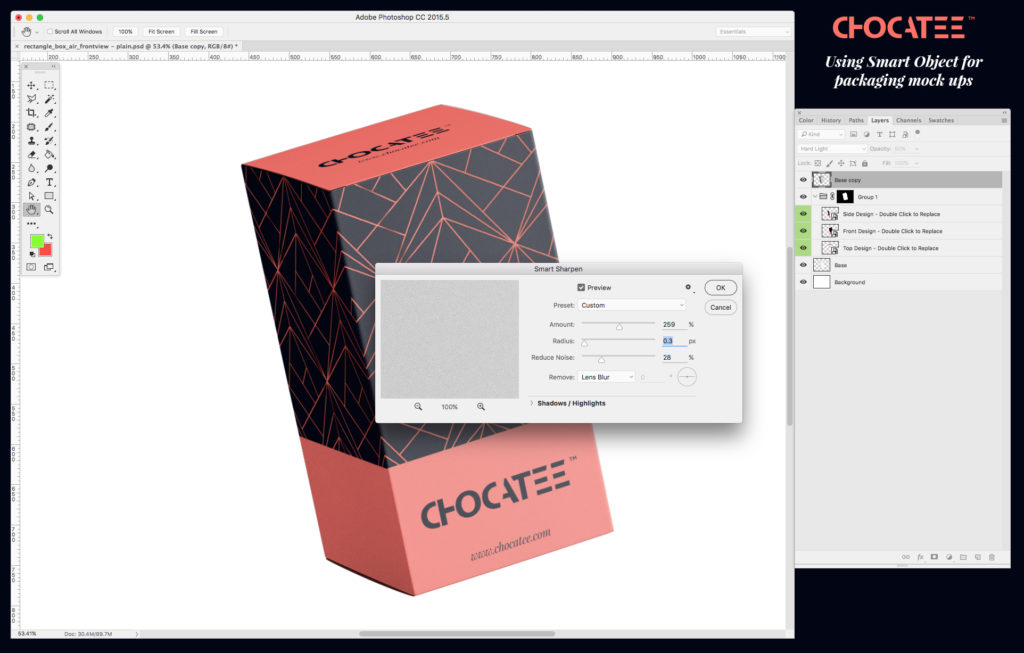
- Use ‘Smart Sharpen’ to create a Matt texture appearance. (fig. L)

Step 4:
- Once complete, add any other finishes you want to accentuate the render (such as Shadows and background lighting )see (fig. M)
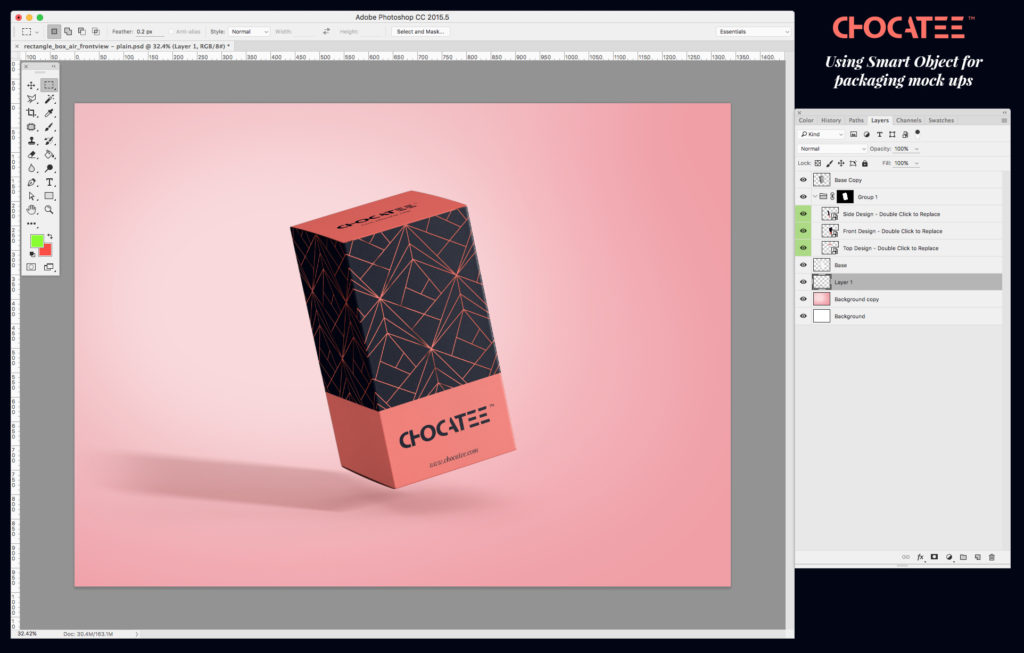
Final result
Now that you have this set up, it will be very easy to edit the layers, as you simply go back to Step 3 in this tutorial, and edit the smart layer; this edits will then auto apply to the base render. You can experiment with this and potentially set up a very complex box (with a window for example) and not only will you be able to change the graphics, but the actual shape of panels.

